77 Lafayette Ave, White Plains, NY 10603
Avaliable 24/7 Call:
(800) 663-603677 Lafayette Ave, White Plains, NY 10603
Avaliable 24/7 Call:
(800) 663-6036Our team of Roofing, Siding, Skylight, Chimney, Gutter, and Painting experts at the American Star Contractor Corp love all of our communities throughout Long Island, NY. Maybe it’s the fact that we live here, and we work here. Or that we have years of experience helping Long Islander’s homes look “just a little bit nicer” because of our work?
Maybe it’s because we take pride in the fact that we are consistently rated as one of the Best construction companies in all of New York? We honestly take pride in all of our work, and we love what we do. We hope to help you with any work on your property soon. We’re confident you’ll love what we do!
We are just a call away! The professionals at the American Star Contracting Corp will make sure that your queries are dealt with on a priority basis. A team of our professionals will visit your location in Eastchester NY, Westchester NY, West Harrison NY, and Mamaroneck NY. Experience efficient and durable services with the American Star Contracting Corp.
Finding a great roofing company can be a frustrating task. Your home deserves the attention and care of experts who will treat your home like it’s their own. We know there are countless other roofing companies here in New York.

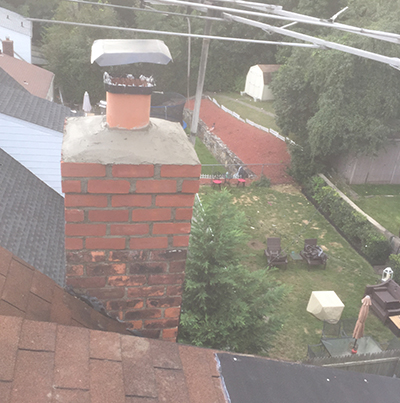
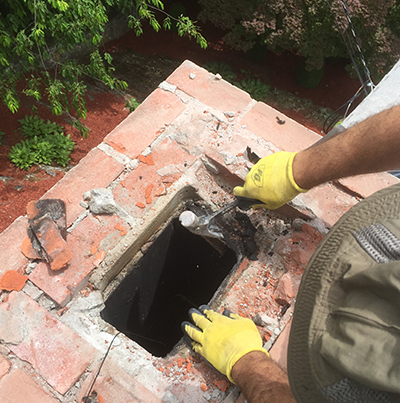
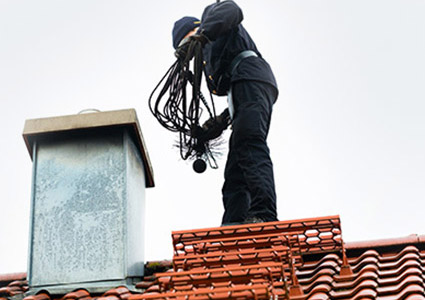
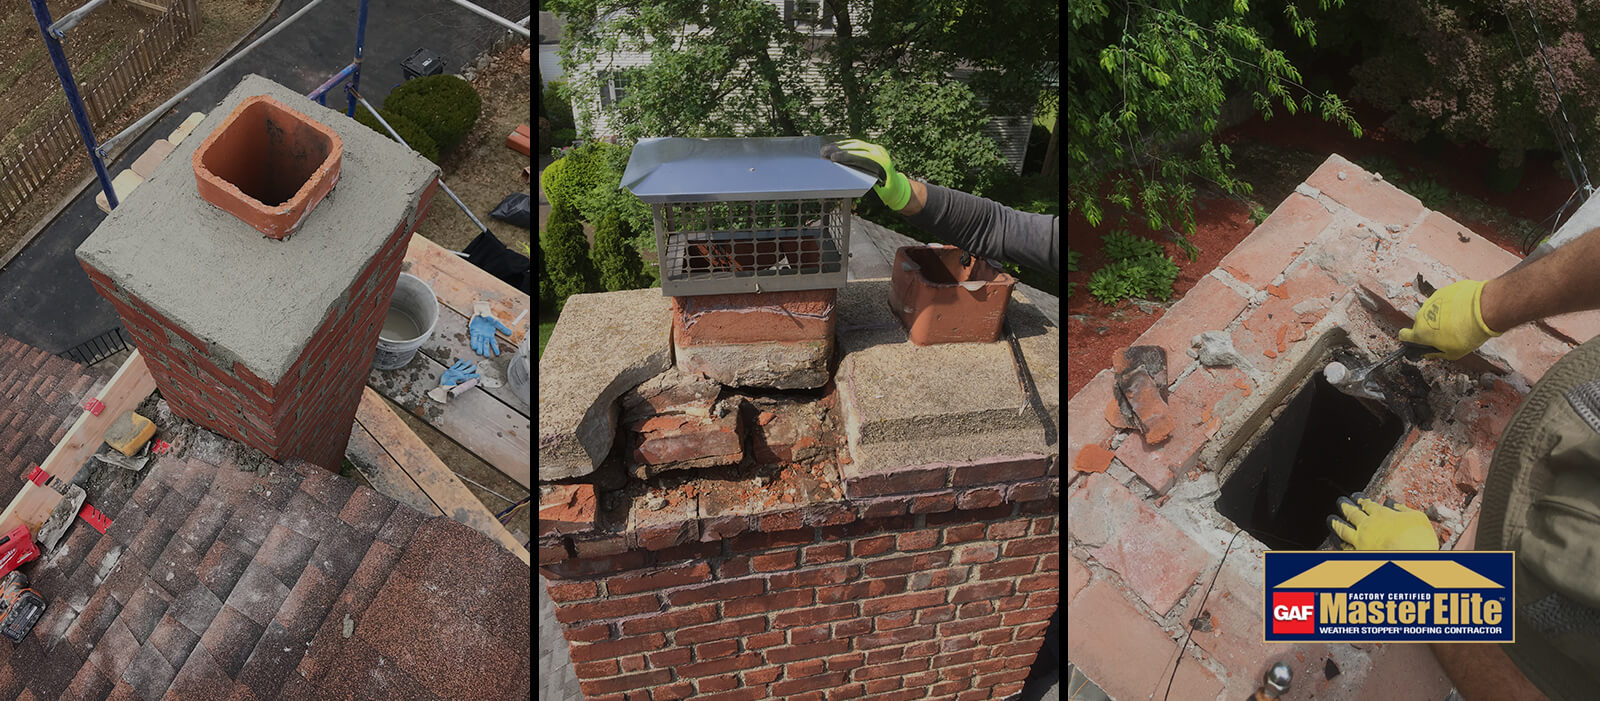
Isn’t it a frustrating and complicated task to look for a contracting company for chimney repair services? Of course! You have built your home with the utmost care and attention to detail, thus it requires comprehensive care.
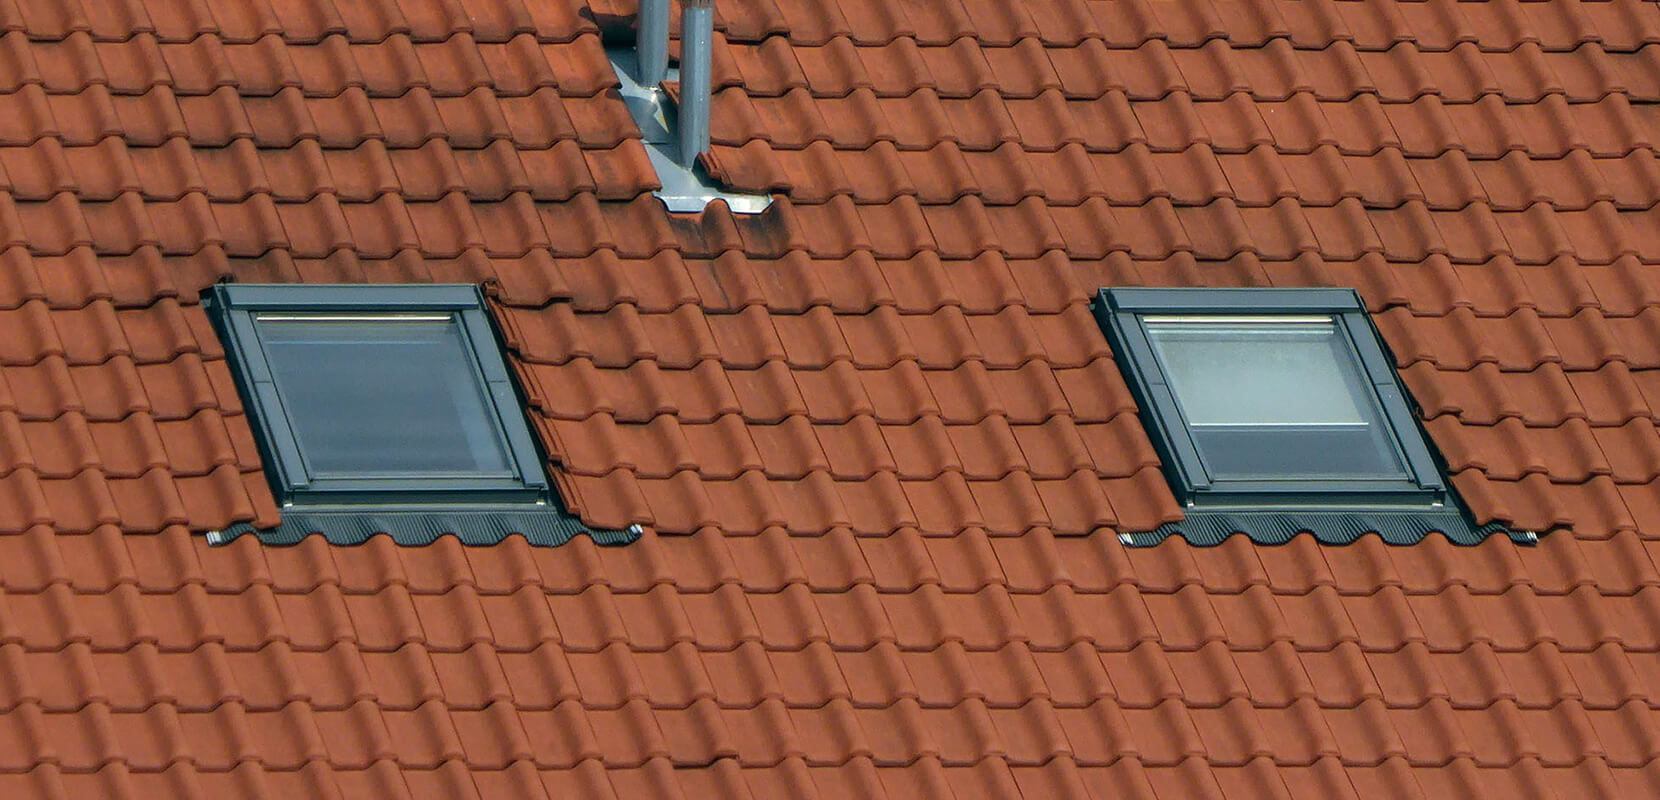
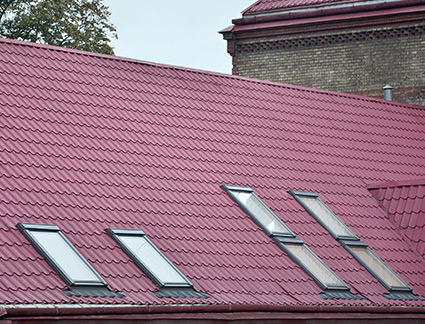
Are you looking for skylight repair services in New York and surrounding areas? Get in touch with the expert professionals at the American Star Contracting Corp. Adding skylights to your home is a great way of uplifting the aesthetic value and adding a soothing vibe to it.
The siding serves an important purpose in every home. It helps in protecting and insulating your home from the harsh weather conditions. Apart from this, siding also keeps your walls dirt, insects, and moisture-free.
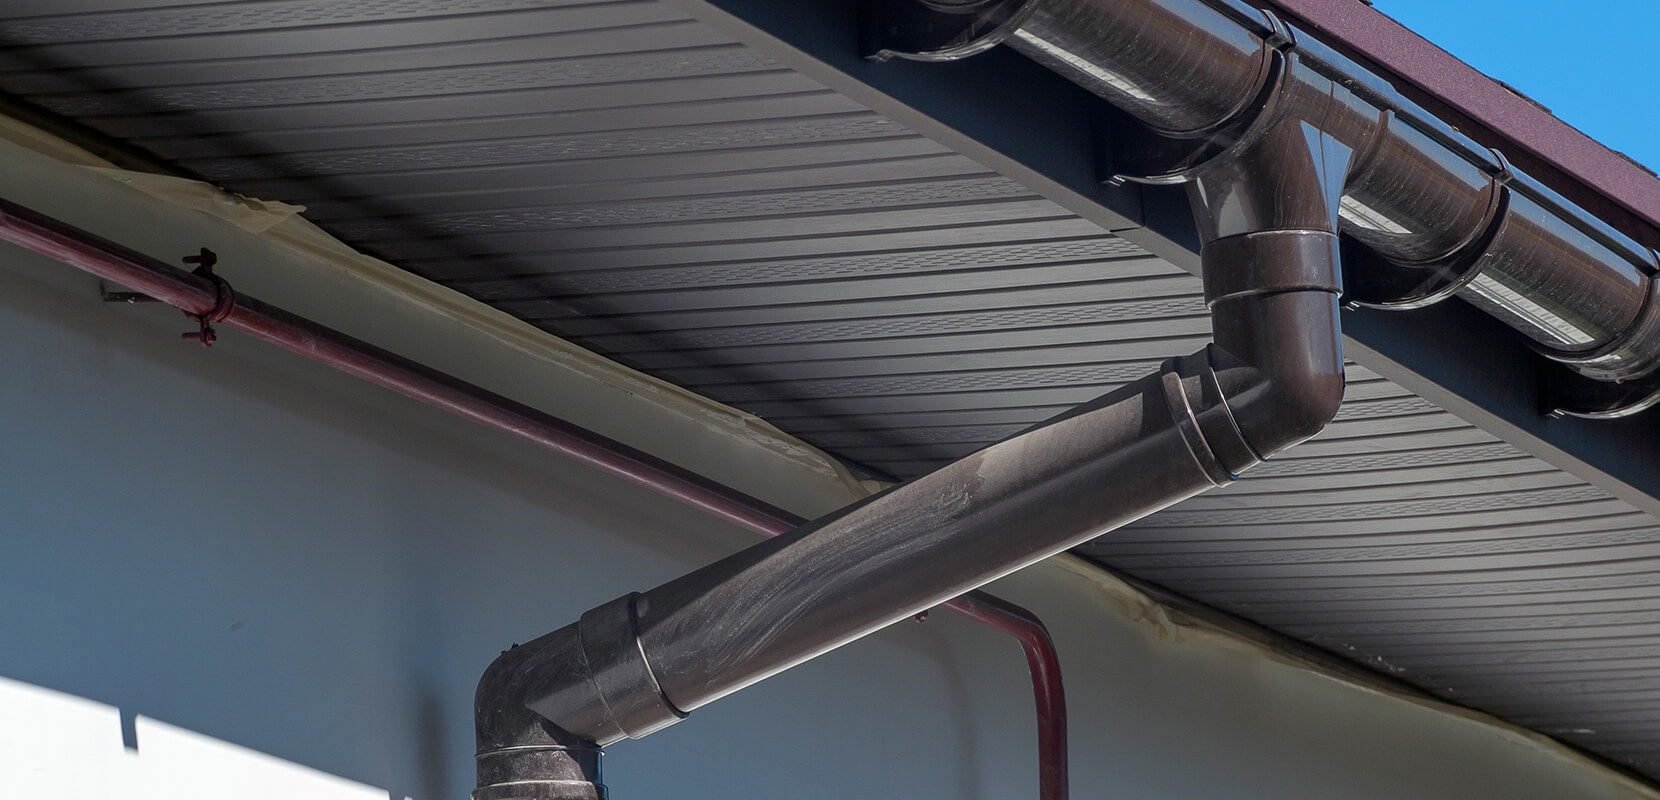
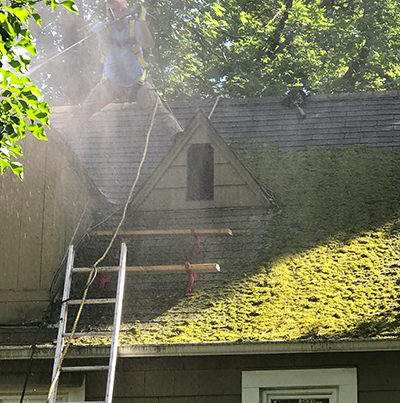
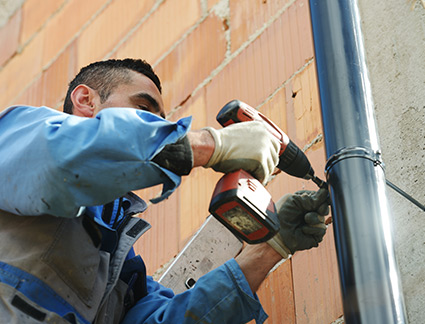
Rains usually leave homeowners with damaged gutters due to twigs, leaves, and other sediments that come with rain. Although you can get it cleaned on your own, it is advisable to leave the gutter cleaning and repairs to the professionals.
Home is where the heart is. It is a place where you feel most comfortable and is a proud investment. And we all want to make the best impression with a well-designed and maintained home.
 Highly Experienced
  Guarantee your satisfaction
  Free estimates
  Your roofing specialist
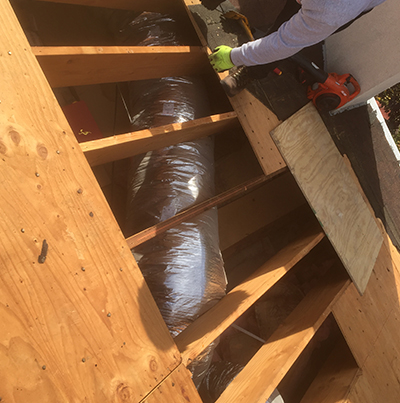
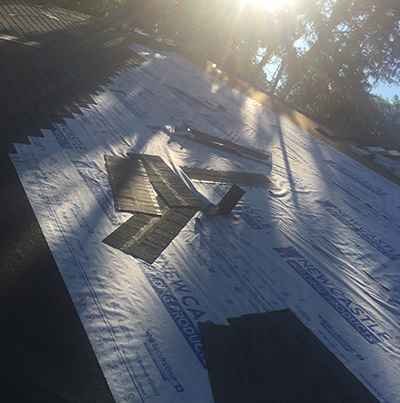
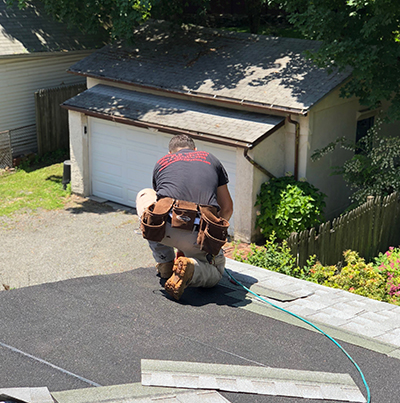
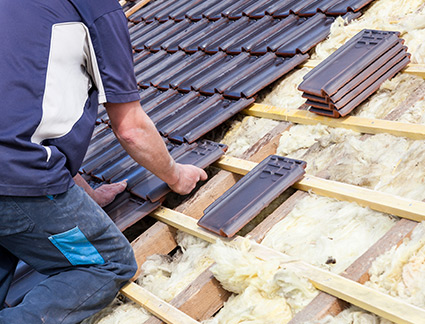
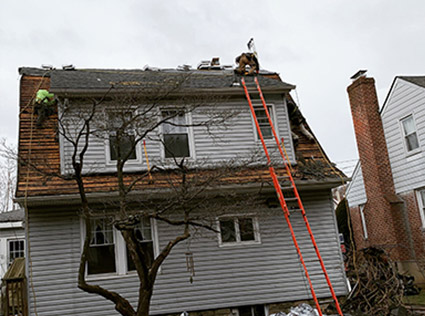
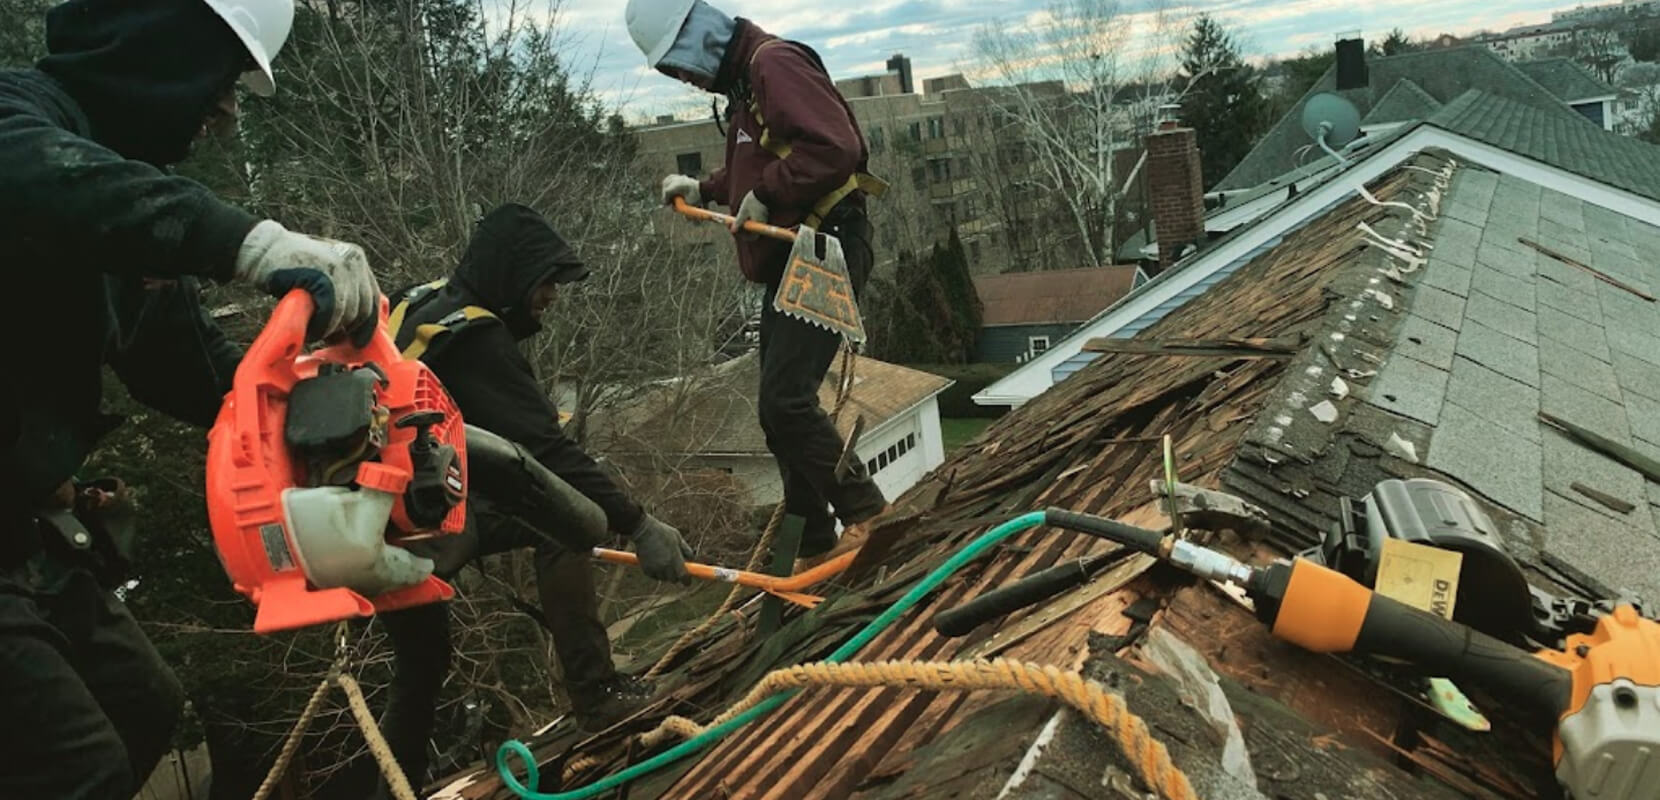
Quality Roof Installation Starts With the Right Local Team A roof installation is more than a home improvement project. It is a long-term investment in protection, comfort, curb appeal, and property value. Whether you are replacing an aging shingle roof, upgrading a flat roof, or planning a full tear-off, the quality of the installation matters just as much as the materials you choose. What Makes a Quality Roof Installation? It starts with careful planning, professional execution, and a complete system approach that suits your property and local climate. For homeowners and property owners in Westchester County, NYC, and the Bronx , American Star Contractor Corp provides professional roof installation services designed around careful preparation, dependable workmanship, and premium roofing systems. If you have been searching for high quality roof installation near me, it is important to know what separates a rushed job from a roof built to perform. Why Installation Quality Matters Even the best roofing materials can fail early if they are not installed correctly. Poor fastening, missing flashing, inadequate ventilation, weak underlayment, or skipped decking repairs can lead to leaks, premature wear, and costly repairs. A quality roof installation should create a complete roofing system, not just a new outer layer. That means every component must work together, including: Roof decking Underlayment Drip edge Flashing Starter shingles or base materials Shingles, flat roofing membrane, or metal panels Ridge caps or termination details Ventilation components Sealants and waterproofing details When evaluating contractors, look for quality roofing services that explain the entire process clearly. A reliable installer should not simply quote the visible surface. They should assess the structure underneath, identify problem areas, and recommend the right solution for your roof type and property. American Star Contractor Corp for New York Area Roof Projects There are two distinctly separate regional companies operating under the “American Star” brand, so it is important to choose the right one for your location. If your project is in New York, Westchester County, NYC, or the Bronx , you are likely looking for American Star Contractor Corp. American Star Contractor Corp offers high quality roof installation services, including full tear-offs, roof replacements, new roof installations, architectural shingle systems, and flat roof installations. As GAF Certified residential roofers, the team follows professional installation standards and uses premium materials to help create roofing systems built for local weather conditions. Their process commonly includes: Removing old shingles or roofing materials Inspecting the wood decking below Repairing or replacing damaged decking when needed Installing new underlayment Adding drip edges Installing proper flashing at vulnerable points Completing the roof with durable shingles or flat roofing materials Cleaning the job site after installation This complete-scope approach is one of the most important signs of professional roof installation. A Practical Roof Installation Guide for Homeowners If you are planning a roof replacement, the following roof installation guide can help you understand what to expect and what to ask before work begins. 1. Start With a Complete Roof Evaluation A quality contractor should inspect more than the surface. They should look for signs of water damage, soft decking, missing flashing, ventilation issues, sagging areas, and improper previous repairs. This first step is essential because hidden problems can affect the performance of the new roof. Installing new materials over damaged wood or poorly prepared surfaces can shorten the roof’s lifespan. 2. Choose Materials That Match the Property Different roofing systems work better for different buildings. Architectural shingles are a popular choice for many residential homes because they offer durability and an attractive dimensional appearance. Flat roofs require specialized materials and installation techniques to manage drainage and prevent water intrusion. For some properties, metal roofing may also be considered. When evaluating metal roof installation quality, pay close attention to panel alignment, fastening methods, flashing details, expansion allowances, and waterproofing around penetrations. A metal roof must be installed with precision to avoid leaks, oil canning, and long-term performance problems. 3. Confirm Full Tear-Off Details A full tear-off allows the roofing team to remove old materials and inspect the decking. This is often the best way to identify damage that would otherwise remain hidden. It also gives the new roof system a cleaner, stronger foundation. Before hiring a contractor, ask whether the proposal includes removal of existing materials, disposal, decking inspection, underlayment, flashing, and cleanup. 4. Pay Attention to Flashing and Edges Many roof leaks begin around chimneys, walls, skylights, valleys, vents, and roof edges. Proper flashing is one of the clearest signs of a reliable roof installation. Drip edges also matter. They help guide water away from fascia boards and roof edges, reducing the risk of rot and moisture damage. If a contractor overlooks these components, the roof may look finished while still being vulnerable. 5. Review Ventilation Needs Ventilation helps regulate heat and moisture in the attic area. Poor ventilation can contribute to mold, ice damming, shingle deterioration, and higher energy demands. A qualified roofing contractor should consider intake and exhaust ventilation as part of the overall roofing system. Roof Installation Checklist Use this roof installation checklist when comparing proposals or reviewing a completed project: Has the old roofing material been fully removed when required? Was the decking inspected before new materials were installed? Were damaged wood sections repaired or replaced? Was new underlayment installed properly? Were drip edges included at roof edges? Was flashing replaced or properly integrated? Are shingles or roofing materials aligned evenly? Are fasteners placed correctly, not overdriven or underdriven? Are valleys, penetrations, and transitions sealed correctly? Was ventilation reviewed? Was the property cleaned after installation? Did the contractor explain warranty and maintenance basics? A contractor who can walk you through these details is more likely to deliver expert roofing solutions instead of a quick surface-level job. Affordable Roof Installation Without Cutting Corners Many homeowners want affordable roof installation, but the lowest price is not always the best value. A roof that is installed incorrectly can lead to leaks, interior damage, mold concerns, and another replacement sooner than expected. A
Read More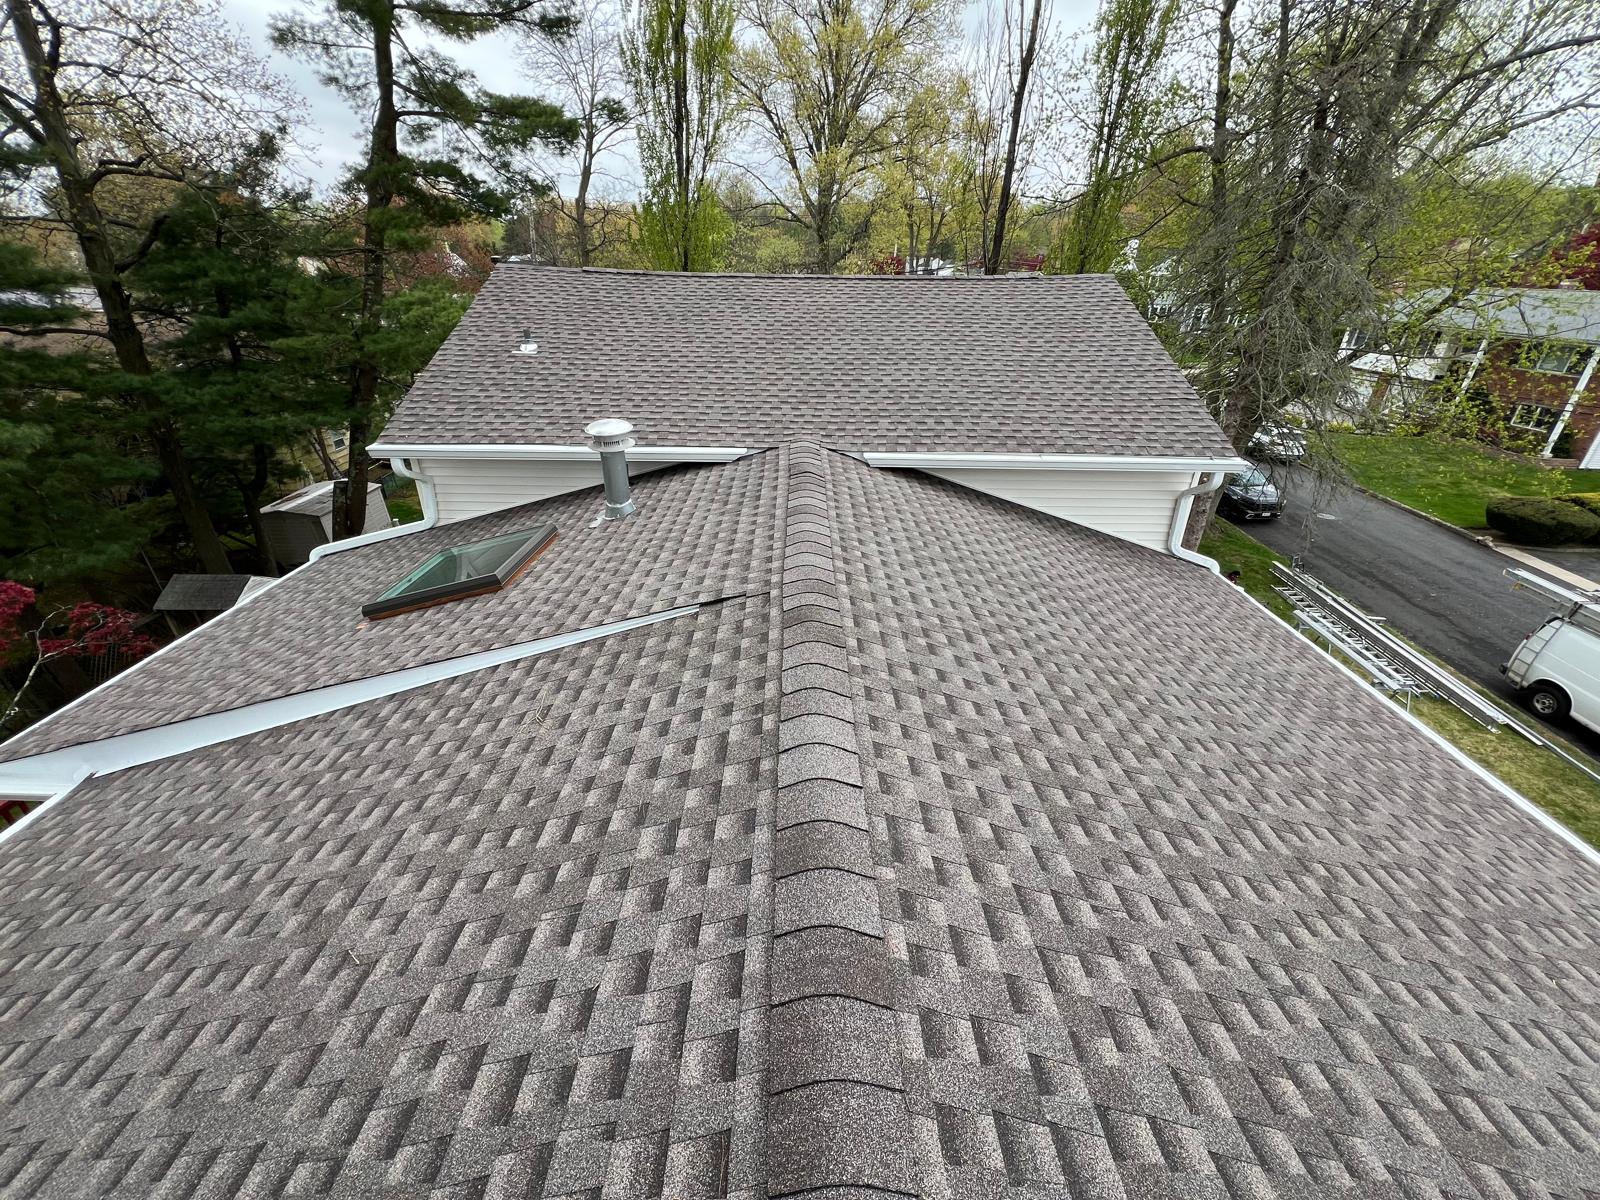
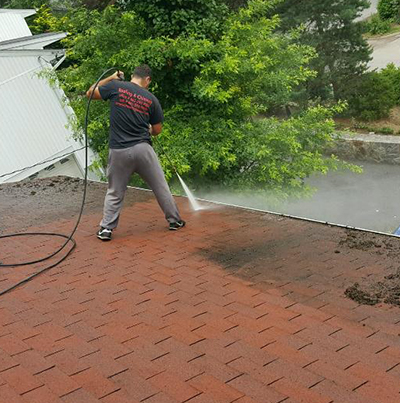
Roof maintenance is a crucial aspect of homeownership. It ensures the longevity and safety of your property. But Is Roof Maintenance Worth the Cost? Yes—especially when you compare routine expenses to major repairs. Many homeowners overlook regular roof maintenance. They often underestimate its importance—and the true cost of roof maintenance—until problems arise. This can lead to costly repairs or even full replacements. Preventative maintenance can save you money in the long run. It helps avoid unexpected expenses and extends the life of your roof. Understanding roof maintenance cost is essential. Different roof types and locations can influence the overall cost of roof maintenance significantly. Professional services, like those from American Star Contractor (often searched as “american star contractor”), offer peace of mind. They provide thorough inspections and maintenance plans tailored to your needs, with transparent roof inspection costs. In this article, we will explore the cost benefits of roof maintenance. We will also discuss how it can protect your investment. Why Roof Maintenance Matters: Protecting Your Investment Regular roof maintenance is essential for safeguarding your home and enhancing its value. A well-maintained roof protects your home from the elements. It’s your home’s first line of defense. Ignoring maintenance can lead to major issues. Water damage, mold growth, and structural concerns are common. Preventing these issues is easier and cheaper than fixing them. A proactive approach ensures small problems don’t become costly emergencies. Routine inspections can detect leaks or broken shingles early. Repairing these issues in a timely manner saves money. Investing in roof maintenance can also increase property value. A pristine roof boosts curb appeal and reassures potential buyers. It reflects a well-cared-for property. Consider these key benefits of regular roof maintenance: Extends the lifespan of your roof Prevents costly repairs or replacements Increases property value Don’t underestimate the role of maintenance in roof longevity. It’s a wise investment with substantial returns. Understanding Roof Maintenance Costs: What to Expect The cost of roof maintenance, or average roof maintenance cost, varies widely. Factors such as material, location, and roof complexity play crucial roles. Let’s explore what impacts these costs. Materials like shingles or metal dictate the maintenance needs. Shingle roofs might require more frequent patching. Metal roofs, however, typically demand less attention. Location significantly influences labor rates and materials. In some areas, seasonal weather changes require more upkeep. Local building standards can also affect pricing. Complexity and accessibility of your roof also matter. Roofs with steep pitches or multiple levels may have higher maintenance costs. Safety precautions and additional labor add up. Common expenses in roof maintenance include: Regular inspections to identify potential issues Cleaning gutters to prevent water damage Sealing and coating for protection against elements Additionally, consider the cost of minor repairs. Fixing leaks early can prevent costly damage later. Never underestimate the value of addressing small issues promptly. Professional maintenance services might be more expensive initially. Yet, they offer expertise and assurance. Hiring experts can prevent larger expenses in the future and clarify typical roof inspection costs. Factors That Influence the Cost of Roof Maintenance Various factors influence roof maintenance costs. Understanding these can help plan and budget effectively for future expenses. First, the type of roofing material greatly affects costs. Asphalt shingles, for example, may require different care than metal or tile roofs. Each material has unique maintenance requirements. Weather conditions in your area are another consideration. Regions with heavy snow or rain may see higher maintenance needs. Extremes in weather can accelerate wear and tear. Maintenance frequency also impacts overall expenses. Regular upkeep prevents larger issues but adds to annual costs. Finding a balance between frequency and necessity is essential. Consider the age and condition of your roof. Older roofs often need more attention to keep them in shape. As roofs age, they become more susceptible to damage. Lastly, the choice of contractor plays a role. Rates can vary between companies due to experience, reputation, and location. Always compare multiple quotes before deciding. Type of roofing material Weather impact Maintenance frequency Age and condition of the roof Choice of contractor Comparing Maintenance Costs by Roof Type Roof maintenance costs vary widely depending on the roof type. Understanding these variations helps when budgeting for roof care. Flat roofs often require more frequent inspections. Drainage issues can lead to serious damage if unchecked. Regular maintenance ensures proper drainage and prevents water accumulation. Metal roofs usually incur lower maintenance expenses. They are durable and less prone to typical roofing issues. However, they still need periodic checks for corrosion and loose fasteners. In contrast, tile roofs demand careful attention to prevent cracks. Replacing broken tiles can be time-consuming and costly. This type may require more frequent visual inspections. Green roofs are trendy but expensive to maintain. They involve not just structural components but also plant health. Regular trimming and irrigation add to maintenance costs. Finally, asphalt shingle roofs are common and relatively affordable to maintain. Yet, they may require more frequent repairs due to weather impact. Flat Roof: Frequent inspections for drainage Metal Roof: Low maintenance, check for corrosion Tile Roof: Inspect for cracks, replace tiles Green Roof: Maintain plants and structural health Asphalt Shingle: Affordable but frequent repairs Flat Roof Installations: Unique Maintenance Needs Flat roofs present unique challenges due to their design. Drainage is a crucial component, needing regular checks. These considerations apply both to existing roofs and to flat roof installations. Without proper drainage, water can pool and cause damage. Regular roof inspections mitigate these risks, preventing leaks and deterioration. Additionally, flat roofs may require re-sealing more often. This maintains their waterproof integrity, especially in rainy climates. Check and maintain drainage systems Regular inspections for potential leaks Consider periodic re-sealing Metal Roof Maintenance Cost: What’s Different? Metal roofs are known for durability, influencing their maintenance costs. They resist many common roofing issues, reducing maintenance frequency. Despite this, they still need occasional attention. Checking for loosened fasteners and possible rust spots is important. Over time, weather exposure can lead to rust. Routine inspections identify these early, making
Read More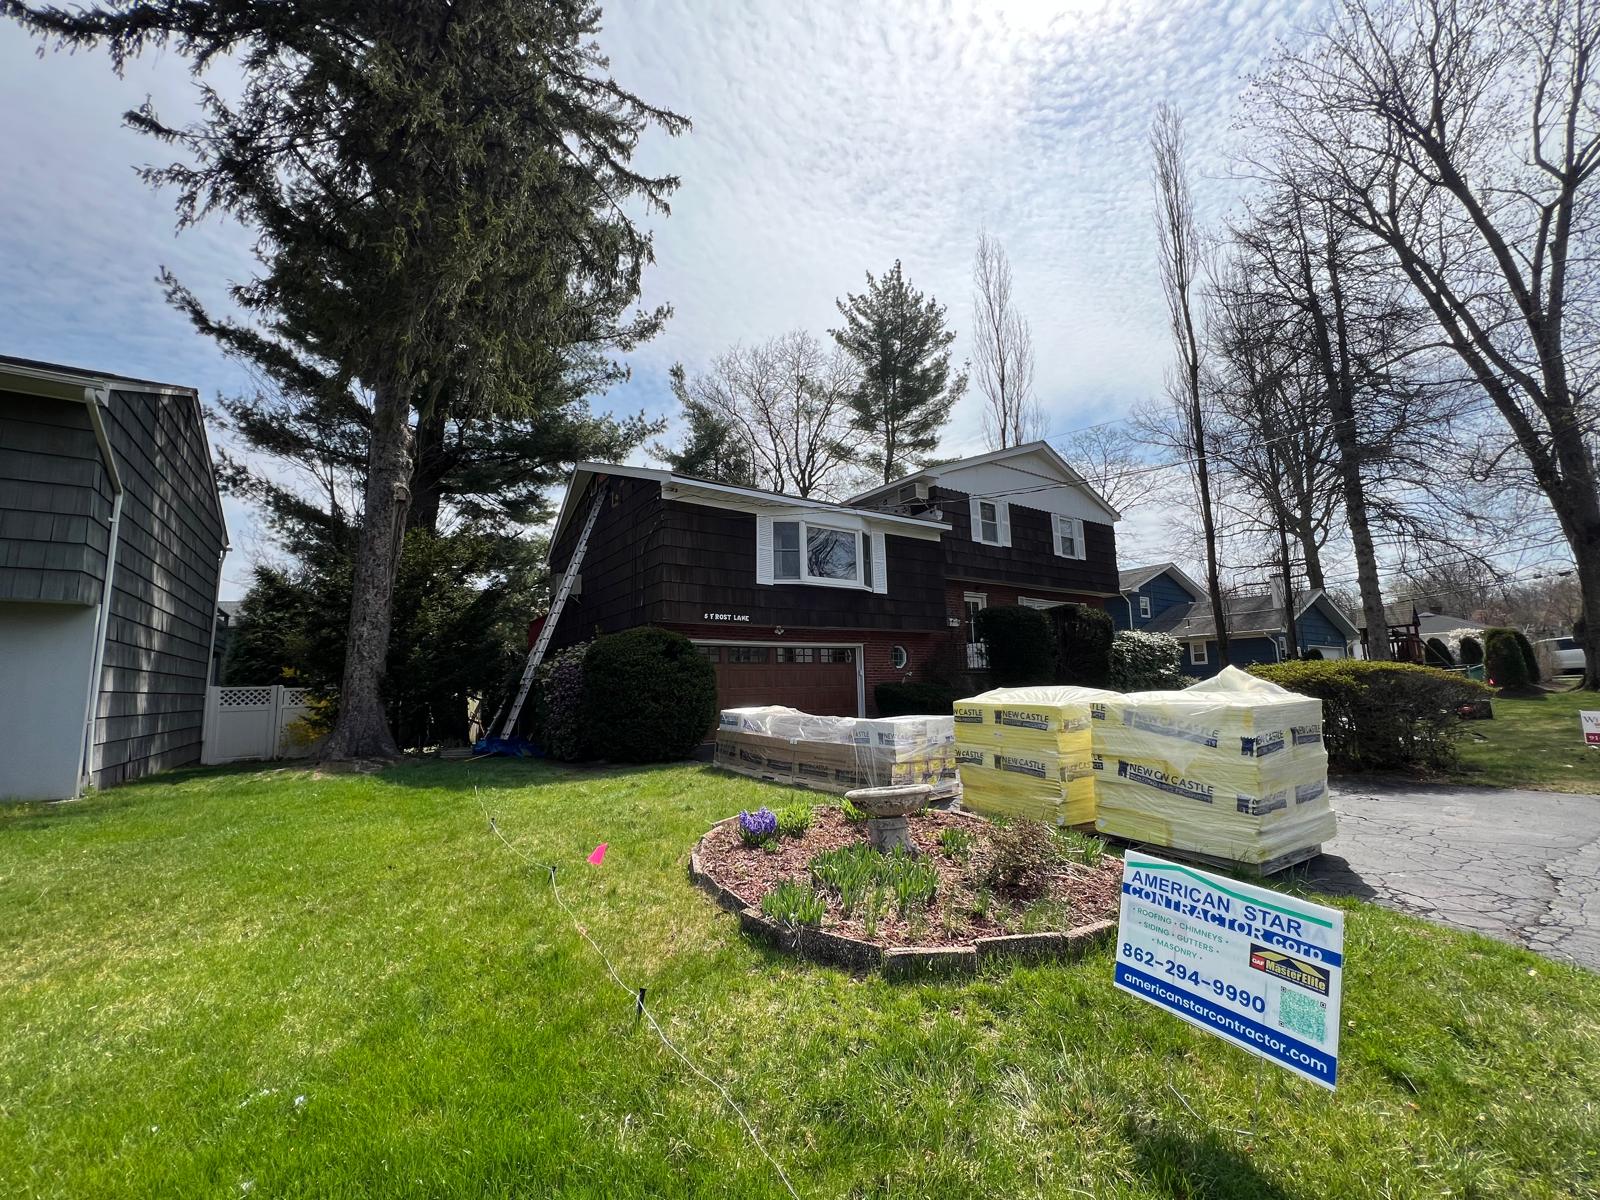
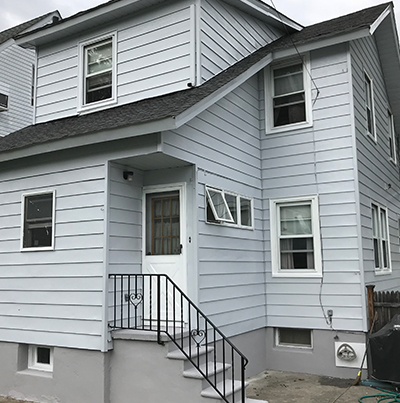
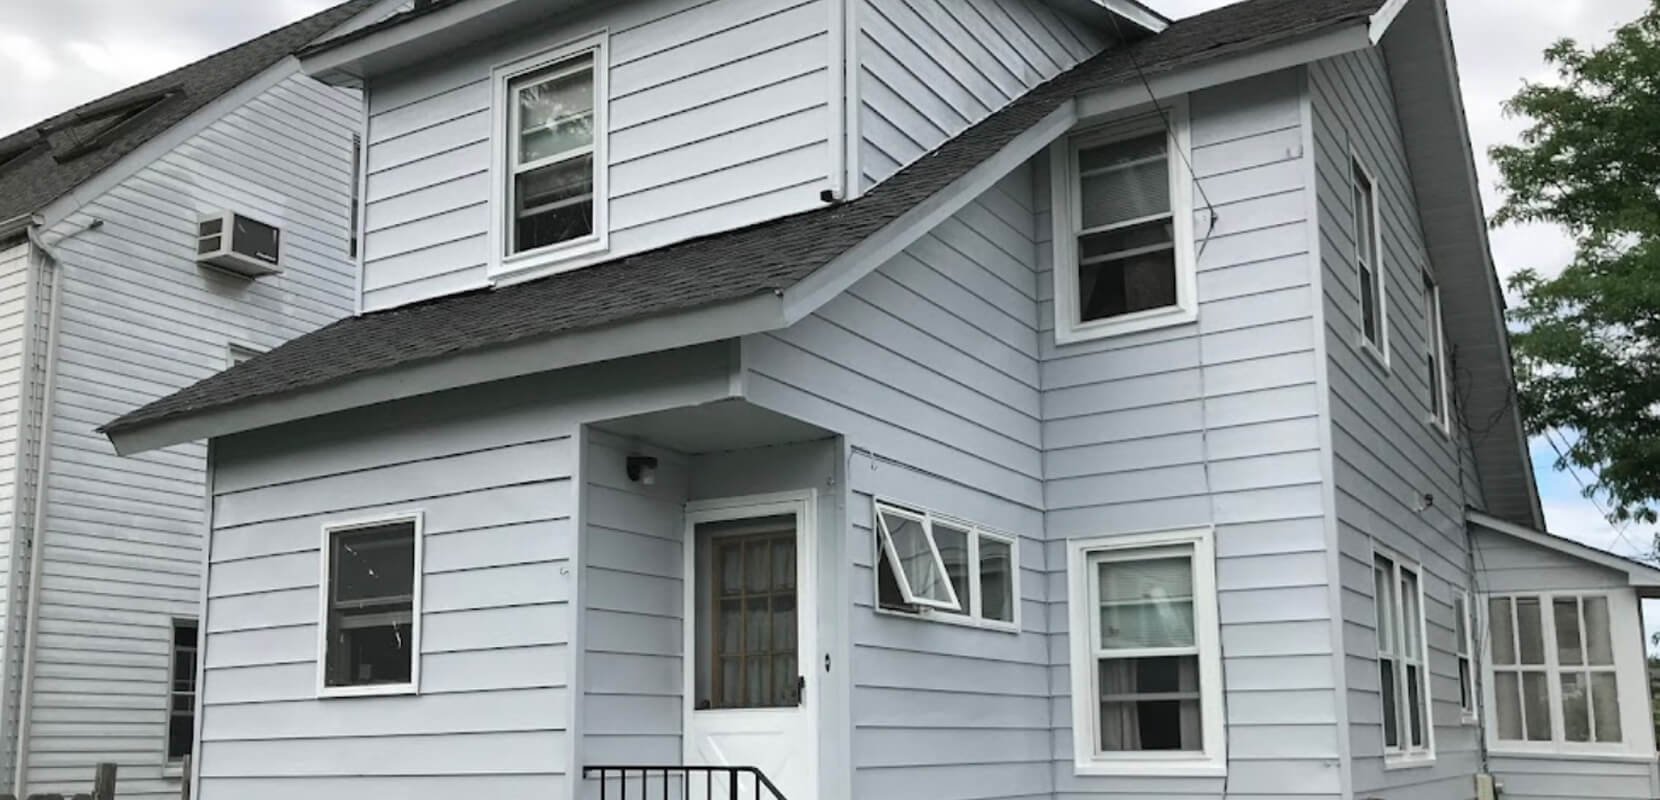
New York homes deal with a demanding mix of weather: freezing winter temperatures, snow and ice, spring rain, humid summers, strong wind, and fast seasonal temperature swings. That combination makes siding more than a cosmetic upgrade. The right exterior cladding helps protect the wall assembly, reduce maintenance, improve curb appeal, and prevent moisture problems before they become expensive repairs. Many homeowners ask, “What siding material is best for New York weather?” when planning a project. For many homeowners comparing the best siding material for New York weather 2026 , the strongest overall answer is fiber cement siding, especially when it is installed with proper flashing, a water-resistive barrier, and manufacturer-approved clearances. However, the “best” choice depends on your budget, home style, maintenance expectations, and whether your property is exposed to coastal moisture, tree cover, heavy shade, or high wind. Why New York Weather Is Hard on Siding The best house siding material for New York climate has to perform through more than one type of stress. A siding product that handles summer heat but struggles with winter expansion may not be ideal. A material that looks beautiful but absorbs moisture can become a maintenance burden if it is not sealed correctly. New York’s climate concerns include: Freeze-thaw cycles: Moisture can enter small gaps, freeze, expand, and stress siding, trim, caulk lines, and fasteners. Heavy rain and wind-driven moisture: Rain does not always fall straight down. In storms, it can push behind poorly detailed siding. Snow and ice buildup: Lower wall sections, corners, and areas near rooflines can stay wet longer. Humidity and shade: Moisture-prone areas can encourage paint failure, mildew staining, and wood decay when maintenance is ignored. Heat and UV exposure: South- and west-facing walls may fade or expand more than shaded elevations. Storm-related impact: Branches, debris, and hail can damage thinner or more brittle materials. NYSERDA notes that heavy rain events and heat waves have become more frequent and longer in New York, which makes moisture management and heat durability important siding considerations. (nyserda.ny.gov) New York’s residential code guidance also emphasizes that exterior wall coverings are part of the weather-resistant exterior envelope and includes requirements related to wind resistance and water-resistive barriers. (dos.ny.gov) The Short Answer: Best Overall Siding for New York Homes If you want one practical recommendation, fiber cement is usually the best siding material for homes in New York climate because it offers a strong balance of durability, weather resistance, design flexibility, and lower maintenance compared with natural wood. Fiber cement is especially well suited for homes in White Plains, Port Chester, Dobbs Ferry, Tarrytown, and many other communities throughout Westchester County and the broader Tri-State area because it can handle cold, moisture, seasonal movement, and traditional Northeast home styles. James Hardie describes its HardieZone system as “Engineered for Climate,” with HZ5 products designed for climates with freezing temperatures, snow, ice, and seasonal temperature variation. (jameshardie.com) That said, not every homeowner needs the same solution. Premium vinyl, insulated vinyl, engineered wood, cedar, metal, and composite siding can all be appropriate in specific situations. The smartest choice is the one that matches your home’s exposure, budget, design goals, and long-term maintenance plan. Top Durable Siding Options for New York 1. Fiber Cement Siding Fiber cement is one of the most recommended durable siding options for New York homes. It is made from cement-based materials with reinforcing fibers, giving it a solid feel and strong resistance to common exterior threats. Why it works well in New York: Resists rot better than traditional wood. Handles moisture well when installed correctly. Offers strong dimensional stability in seasonal weather. Provides a classic clapboard, shingle, or panel look. Can suit colonial, Cape Cod, Tudor, farmhouse, and modern homes. Offers better fire resistance than many combustible siding options. James Hardie states that its fiber cement products are water resistant, do not attract pests, and are noncombustible or Class A fire rated when tested under ASTM E84. (jameshardie.com) The same source notes that HZ5 products are designed to resist shrinking, swelling, and cracking after wet or freezing conditions. (jameshardie.com) Things to consider: Fiber cement is heavier than vinyl and requires experienced installation. Cutting, fastening, flashing, clearances from roofs or grade, and caulking details matter. Poor installation can shorten the life of an otherwise excellent product. It also typically costs more upfront than standard vinyl siding, but many homeowners choose it for long-term value and appearance. Best for: Homeowners who want the best balance of durability, curb appeal, and long-term performance. 2. Insulated Vinyl Siding Vinyl siding remains one of the most common new york siding choices because it is cost-effective, widely available, and low maintenance. Insulated vinyl adds a foam backing that can improve rigidity and create a straighter finished appearance. Why it works well in New York: Usually more budget-friendly than fiber cement. Does not require painting. Available in many colors and profiles. Resists moisture because it does not absorb water like wood. Can be a practical option for rental properties or budget-conscious renovations. Things to consider: Vinyl expands and contracts with temperature changes, so it must be nailed properly and allowed to move. If it is fastened too tightly, panels may buckle. In very cold weather, lower-grade vinyl can become more vulnerable to cracking from impact. Manufacturer and industry installation guidance emphasizes proper water management and installation to achieve intended performance. (vinylsiding.org) Best for: Homeowners looking for a lower-maintenance and more affordable siding replacement. 3. Engineered Wood Siding Engineered wood siding offers the warm, textured appearance of natural wood with enhanced manufacturing designed to improve durability. It is often lighter than fiber cement and can be easier to cut and install. Why it works well in New York: Attractive wood-like appearance. Strong impact resistance in many product lines. Good option for farmhouse, craftsman, and contemporary designs. Often available in longer boards, which may reduce seams. Can be factory finished for consistent color. LP Building Solutions describes its engineered wood siding as designed for freeze-thaw conditions and notes that extreme temperature
Read More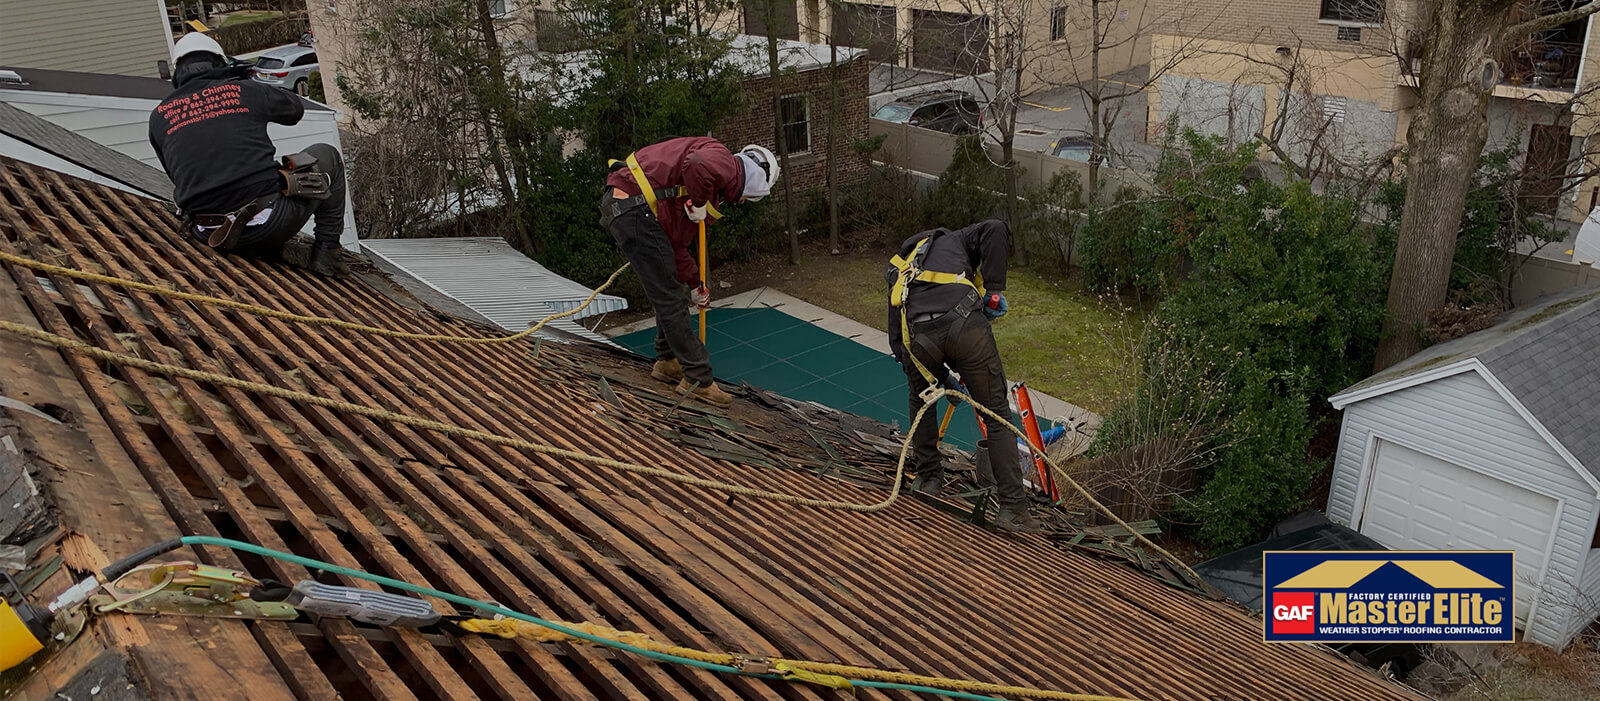 Roofing and Siding Installations, Renovations & Replacements">
 Chimneys and Gutters Cleaning, Maintenance & Installations">
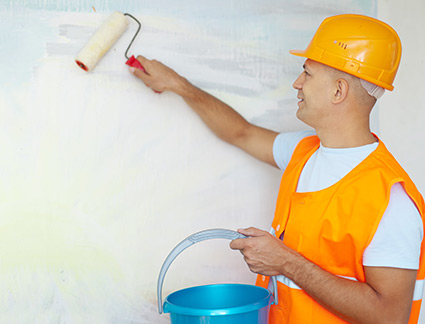
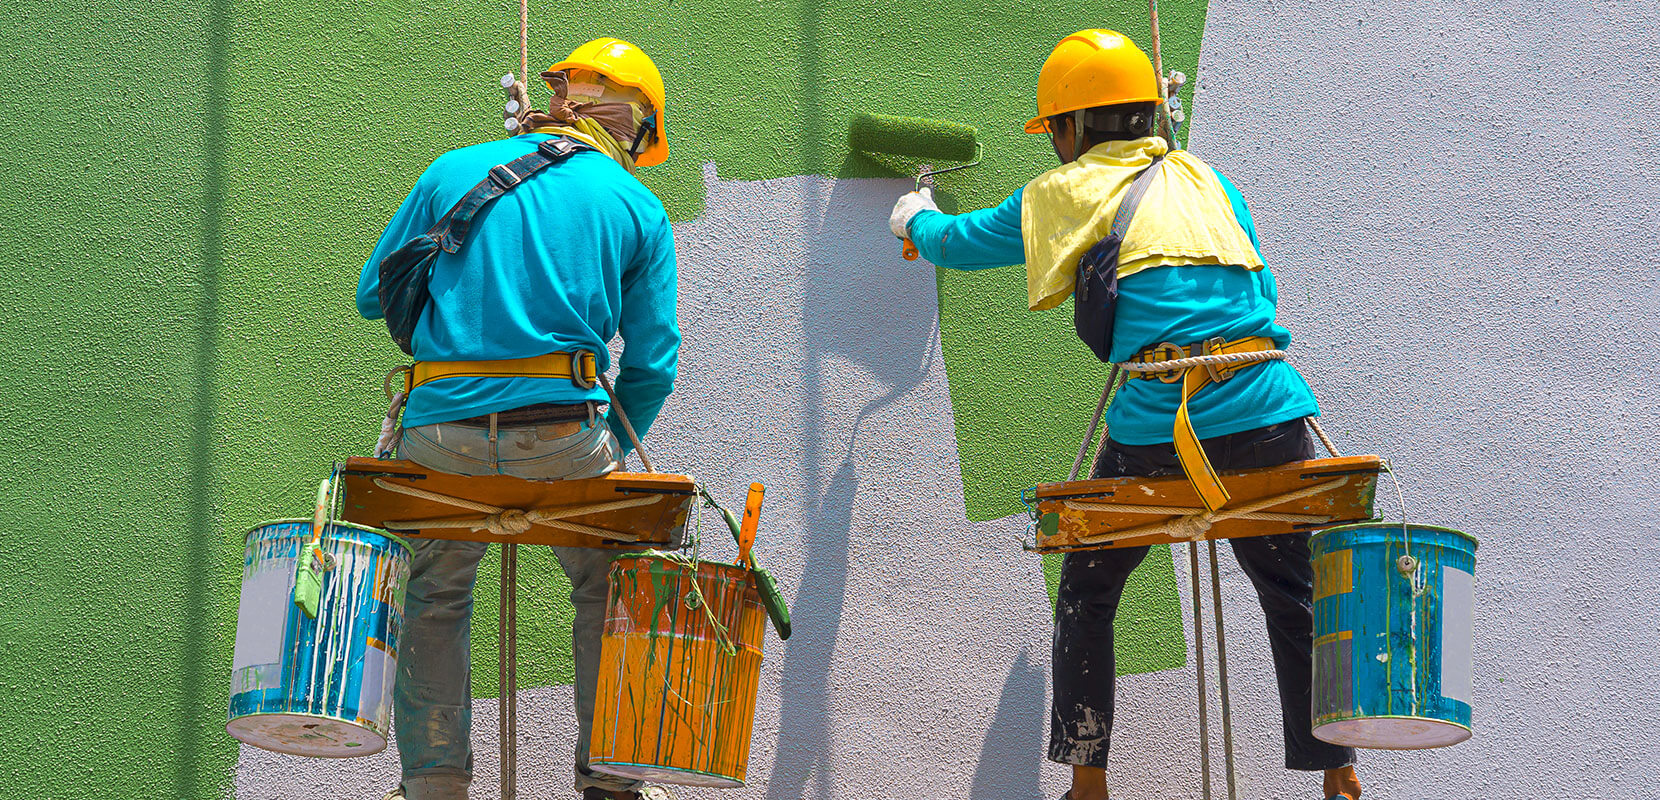
 Painting, Skylights & More